Followers

Wednesday, March 26, 2014

He Is Risen

It's less than one month until Easter, and  the Card A Day Blog is celebrating with a week of Easter card inspiration.  My contribution to this theme is a clean and simple card with some lacy elegance.  I made this card using a few dies, some larger scraps and a few gems.  I didn't quite get away with no stamping, but I kept it to a bare minimum.

The card started with a fun fold that I've used once before, but this time I used it in reverse.  You can see the other example here.  So, the first step was cutting and folding the base.  Here are two photos of the card from the back where you can clearly see the cuts.


Next, I did the die cuts using  some scraps of gold card stock.  I just love the lace cross and trim.  I used my Xyron sticker makers to affix adhesive to the lacy pieces.  Such a quick and easy way to get those pieces adhered to the base.


I used a pretty gold embossing powder for the sentiment, and then cut that piece with a lacy scallops die before affixing it to the gold lace-edged die cut label using foam tape.  I added foam tape to just half of the gold label, and adhered it to the left front of the card base.


Once I had everything assembled, the card didn't look quite finished.  I took care of that by adding some gems to the cross and label.  That did it!  Quick, yet classy, and a good style for doing multiples.  Also, it fits into a standard A2 envelope.


I hope you have a wonderful day, and thanks so very much for spending part of it with me!

BIG Hugs!!!
CHRISTINE

Wednesday, March 19, 2014

Bold Floral Congratulations

Hello all you friendly people out there!  I hope everyone is enjoying a wonderful day.  Where I live we have been seeing lots of sunshine and steadily rising temperatures - just beautiful.  My card today, for the Card A Day Blog theme of "Congratulations," has some very bold flowers in bright colors.  I just couldn't help carrying over the happy mood from our celebration of Spring last week, especially since tomorrow is actually the first day of Spring.


My flowers were made with some paper flowers that just needed to be punched out and rolled.  The package comes with three different sizes, but I was able to use only the smallest size on my card.  The larger flowers would be lovely for a home dec project or for making up a pretty package.


Next I went through my green scraps to find some pieces to die cut leaves for the flowers.  There were two dies in the same set that were perfect for the sizes of my scraps.  How lucky!  I love it when I can make good use of those scraps I couldn't bear to part with.


I didn't want my card to be too fussy, but I wasn't happy with the plain white background I had, so I decided to use an embossing folder to add some subtle design and texture.  I rounded opposing corners on both the card base and the background which I mounted to the base with foam tape.


Once I had the leaves and flowers in place, all I needed was the sentiment.  I stamped it in brown ink on paper matching the card base, and cut it into a tag shape.  I affixed it to the card with foam tape.


This was a pretty quick card to pull together, and I am quite pleased with it.  However, it will need to have a box, or at least a boxy envelope for presentation as the flowers are very dimensional.


The little details:
     Flowers:  Imaginisce "Roly Rosies"
     Dies:  Sizzix Sizzliits "Flowers, Branches & Leaves" set
     Embossing Folder:  Darice "Henna"
     Stamp:  Hero Arts
     Ink:  Memento "Rich Cocoa"
     Paper:  Recollections and scraps

As always thank you so very much for your visit.  'Til next time.....

Big HUGS!!!
CHRISTINE

Thursday, March 13, 2014

A Lovely Day

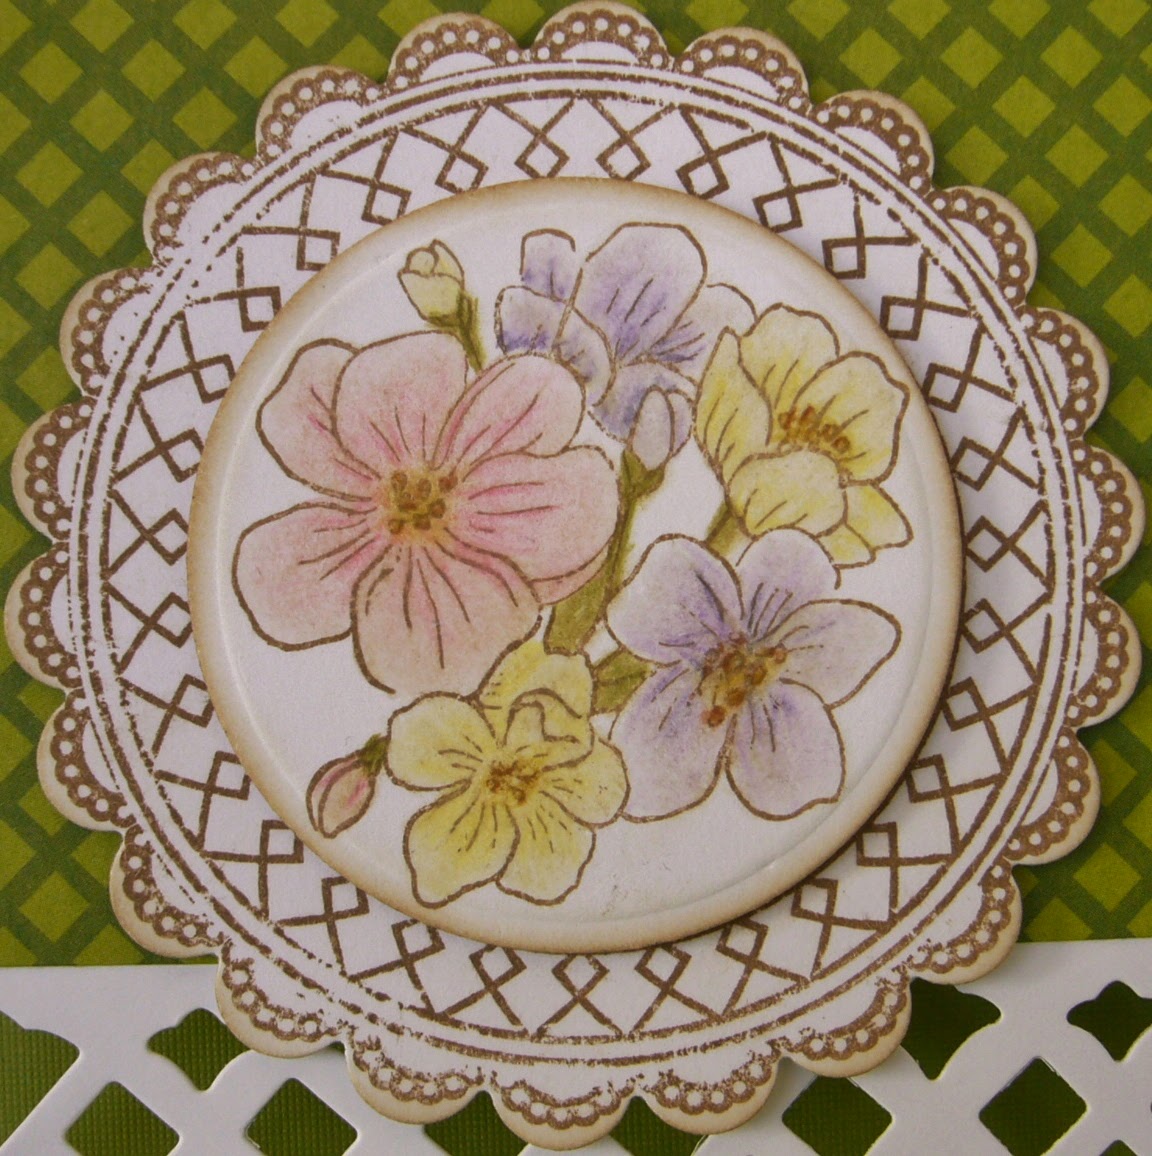
I am SO HAPPY the spring weather is finally pushing its way in.  And it's just in time for our week of Spring inspiration at the Card A Day Blog.  Spring definitely puts me in mind of lots of greenery and pretty flowers all in bloom.  I guess I'm also feeling a bit of Spring Fever; I'm having all kinds of trouble focusing on writing this for you.  On that note, I will try to keep it short and sweet.

Since  I wanted to color some flowers for this card, I went to my collection of Just Rite Stamps where I knew I had some lovely flowers.  While searching for the flowers I came across some doily stamps that I decided would make a nice frame for the flowers.


Then I found 'just the rite' sentiment in yet another of the sets.

 
The creators of the Just Rite stamps were kind enough to remind me on their packaging that their sets were designed to coordinate with Spellbinders die sets.  Luckily, I had the appropriate sets, as well as a nice edge die and a ribbon tag for my sentiment.


Once I had the coloring done and the elements ready, I needed to find my green papers.  That turned out to be a quick check through a few of my mat stacks.  I thought I was finished, but I decided my card needed just a bit more bling; the shimmer on the ribbon didn't quite do it for me.


So, a few jewels along the bottom and DONE!

 
I hope I kept it short and sweet enough for you.  ; )  Here are the facts as I know them:
     Stamps:  Just Rite sets 'My Garden' 'Grandma's Doilies' and 'Be Happy'
     Paper:  DCWV 'Lemon Flower' matstacks
     Ribbon:  Really Reasonable Ribbon
     Pencils:  Tombow 'Irojiten'
     Dies:  Spellbinders 'Circles' 'Small Scalloped Circles' 'Ribbon Tags Trio Two' and 'Lattice
                Borderabilities Petites'
     Jewels:  Creative Memories 'Enchanted' Epoxy Stickers

Thanks so very much for visiting today, and 'til next time.....
Big HUGS!!!
CHRISTINE