Followers

Tuesday, January 31, 2012

Feel Better

Hello, my friends!  Over at the Card A Day Blog we are still in 'Get Well' mode.  So I have another card for you in that theme, and I was still in the mood for paper folding, so I have another Iris Fold design to show you.

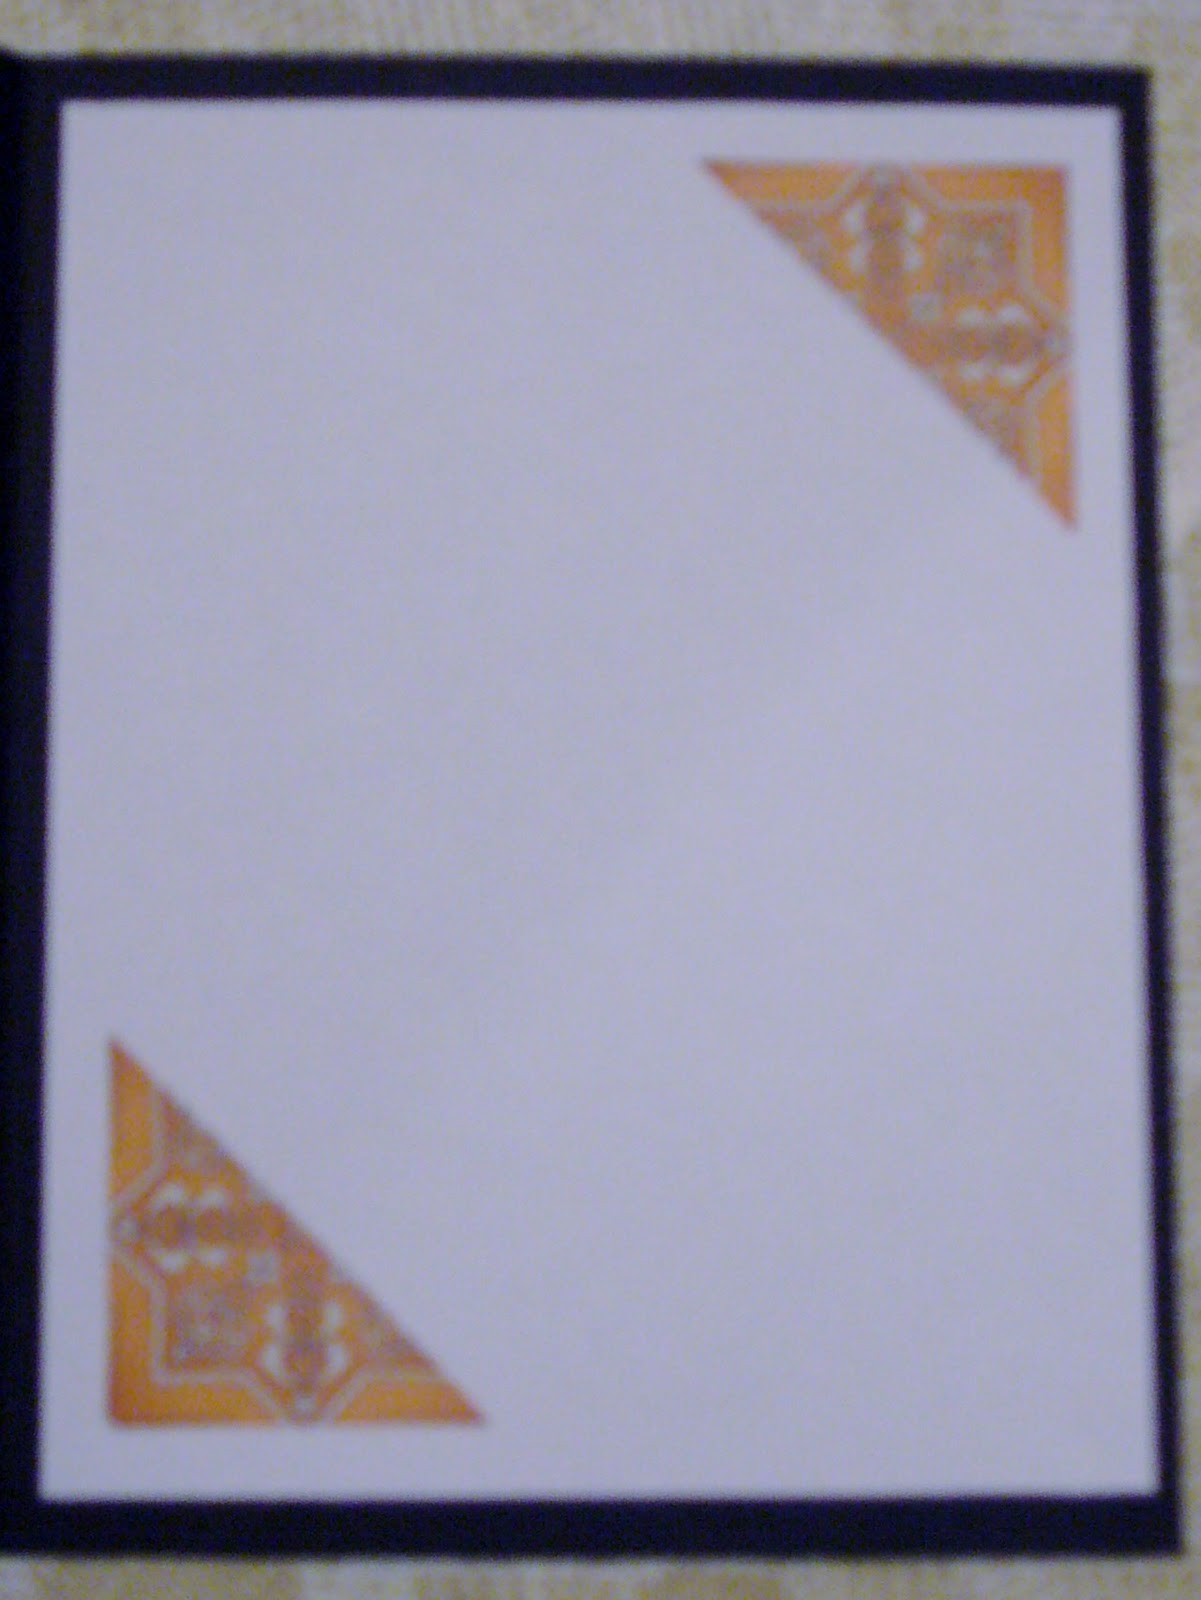
My card started with a scrap (yes, big surprise there, I know!) that was leftover from a die cut.  I saw the piece sticking out of my scrap envelope and thought it would be a great frame for an iris fold square.  I wanted to use some happy, sunshiny Spring colors, and took out one of my Iris Folding Papers booklets that had the right kind of papers.  I printed off the size square I needed, and went to work.


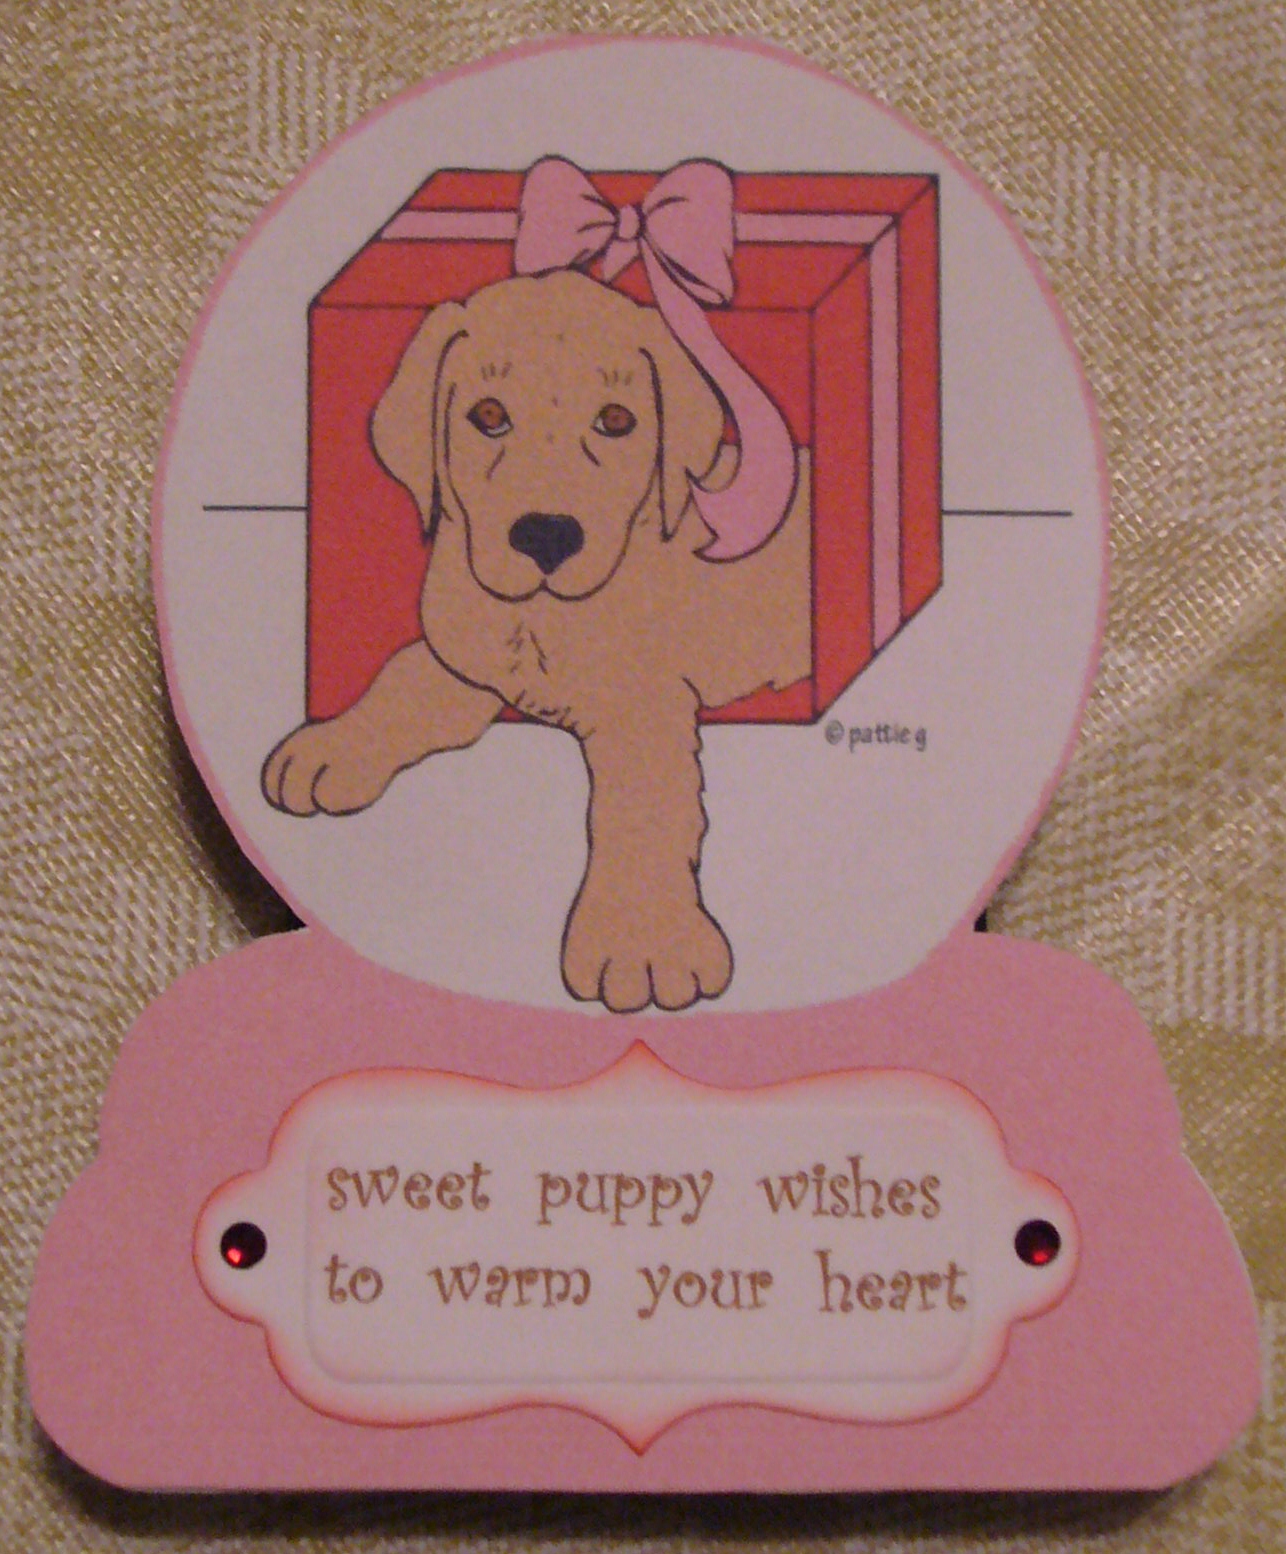
I did some inking around the edge of the piece as well as the edge of the paper, and then decided to find my card base.  Because of the size of the scrap, my card needed to be a 5 3/4" square.  I found a piece of Stampin' Up cardstock that was a perfect match.  I wanted the base to have a bit of texture, which I accomplished on my scoring board.  I affixed the central image and added a flourish at the top:


and a sentiment at the bottom.


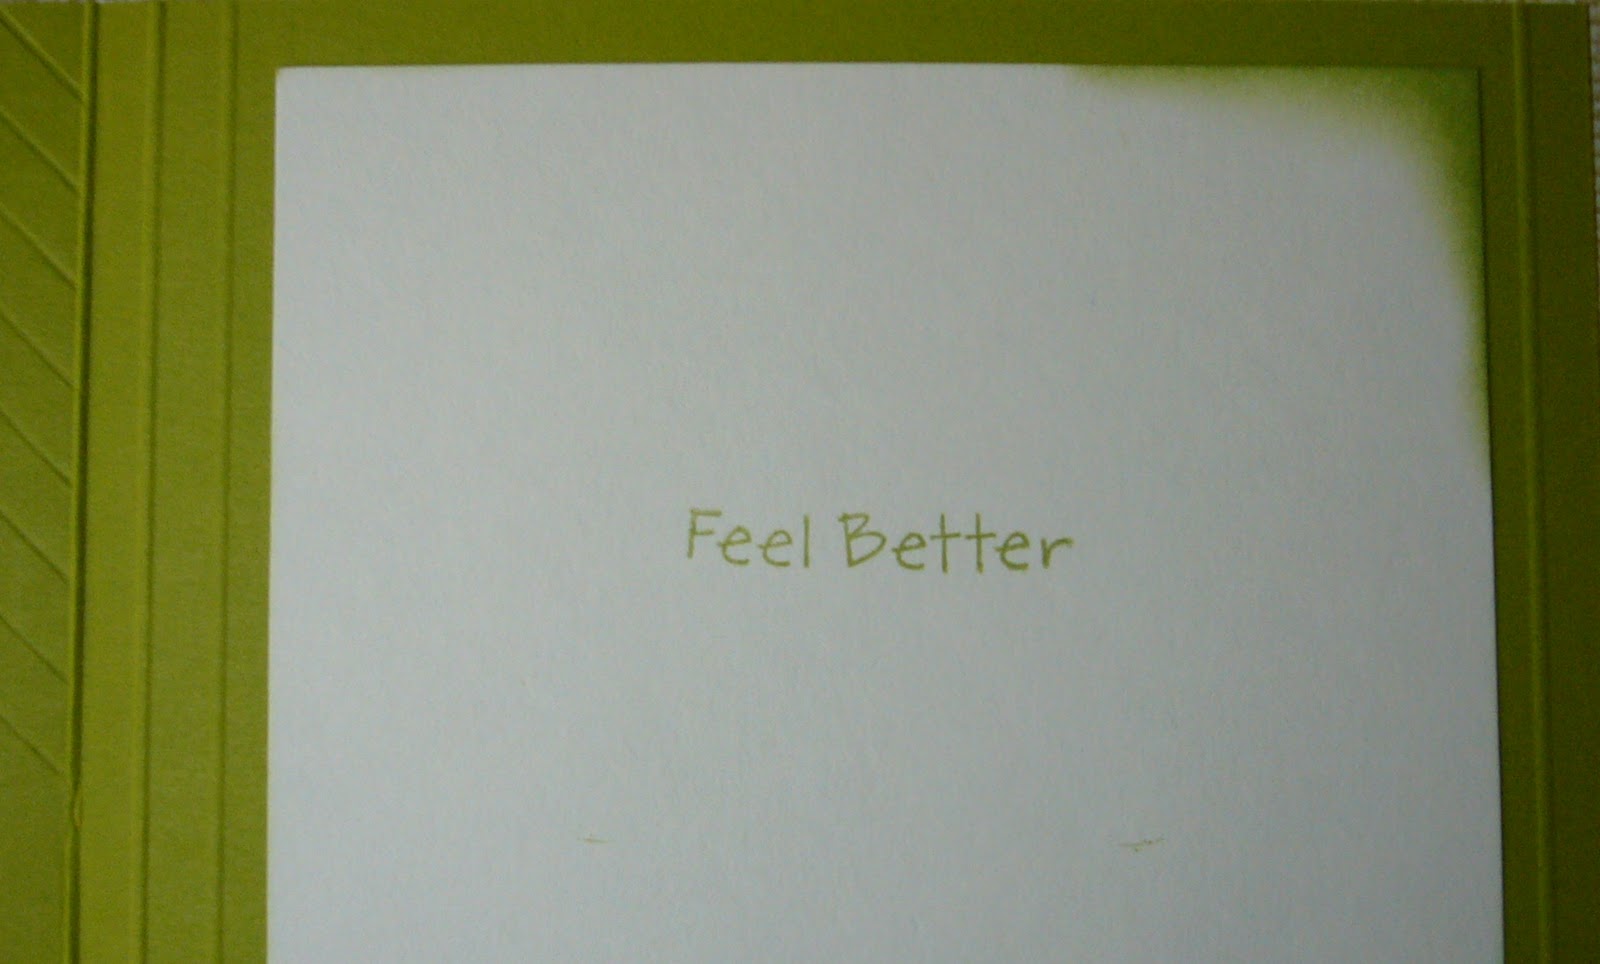
In keeping with the basic simplicity of the front, I added a very simple sentiment to the inside with some inking at the corners along with a few score lines for texture


Here is your full front view of today's card:


If you haven't visited us at the Card A Day Blog, please stop by sometime.  We bring you a new card inspiration every day from one of our many talented designers, with new themes nearly every week.  If you like challenges, we have those as well, of course including prizes!!

Added to:  Pink Cricut 'What Are You Up To?'
Thanks so much for coming to see me today.  Hope you have a moment  to leave a comment!

Remember, always keep your creative genius happy and well-fed!

CHRISTINE

Monday, January 23, 2012

To Brighten Your Day.....

Right now there are so many people around us who are sneezing and sniffling and feeling just plain rotten.  Those seasonal colds and flus are in full force giving us good reason to reduce our stashes (and make room for new goodies) by creating lots of Get Well cards.  That's our theme this week at the Card A Day Blog

The card I have for you today was made primarily using Stampin' Up products.  It actually started life as an event project that I didn't have time to make at the event.  I made some changes to the original design to transform it into a nice get-well wish.  Here's the first pic:


This card is one of many variations on the step-fold.  Starting with a piece of  'More Mustard' card stock 8 1/2" X 5 1/2", scores are made 1" from the top and bottom of the card at 1", 2" and 5 1/2" from the edge, and between 1" and 4 1/4" at 4 1/4" from the edge.  The 1", 4 1/4" and 5 1/2" folds are mountain and the 2" is a valley fold.  Here is an angled view of the card:


The main element is cut from Bigz die set 'Beautiful Butterflies.' It's stamped in Memento 'Rich Cocoa' with a Memories Direct border stamp, inked with VersaMagic 'Sea Breeze' and adorned with pearls colored to match with Copic BG32.  The butterfly is foam mounted on a 'Very Vanilla' mat embossed with Textured Impressions 'Square Lattice' folder and backed by 'Chocolate Chip.'  To the sides are pieces of design paper (sorry, don't have the name) inked with the 'Sea Breeze' to give them a bit more depth.


The inside of the card features the same dp on a mat with the stamped sentiment and a sweet stamped butterfly.


Both sentiments are from Hero Arts 'CL342.'  The butterfly stamps are from Inkadinkado.  Here's one last pic of the full front:


If you've been one of the many victims of the seasonal bugs, I hope you're feeling much better very soon!  Thanks for coming by to visit.

Always keep your creative genius happy and well-fed!!

CHRISTINE


Tuesday, January 17, 2012

A proper Thank You is golden!

Hello, and thank you for joining me today!  At Card A Day Blog this week, we are featuring cards for all those special people who are so deserving of our thanks.  I've been wanting to make a card using tea bag folding, and, as luck would have it, I received a book on just that subject as a Christmas gift.  The book is TEA BAG FOLDING by Janet Wilson and Tiny van der Plas, and, in addition to basic instructions,  it has several beautiful projects as well as papers you can use to make them.

I started out by reading through the instructions for the different projects.  Then I cut some scrap paper so I could do a few practice folds.  I chose the design paper I wanted, cut out the pieces I needed, and proceeded to fold the necessary elements.  With the centerpiece prepared, I needed to determine what other supplies I would use to finish the card.

I had a sizable scrap of a pretty shiny gold paper, and decided to layer that with a white mat on a black card base.  I centered the main element, then cut the corners from one more square to add to the design.  I used the same gold paper for the sentiment which was heat embossed with detail gold powder.  The finishing touch became a little bit of bling.

Here's a nice close shot to show you the dimension of the folds:


Did you see the rhinestone peeking out from the center?


I really love the tone-on-tone of the sentiment.  And here is a photo of the inside.  I cut the remaining part of the extra square in half to bring the design to the inside.


Tea bag fold designs can lend such elegance to your projects. There are lots of resources online where you can find designs for folding as well as free papers. You do need to cut and fold carefully to be sure the pieces fit together well, but I highly recommend giving it a try.


Always keep your creative genius happy and well-fed!

CHRISTINE

Thursday, January 12, 2012

It's Puppy Love!

The current Crafter's Digital Art Center Progressive Challenge has such cute images for us to play with.  We are on cdacpc9, and it's for members only, but there is a way to join while it's in progress.  So go on over to the CDAC website and check it out.

I couldn't resist Crafty Ann's snowglobe, and Pattie's Creations gave us an adorable puppy in a gift box.  I created one card for pc9, but I actually played around with the artwork until I figured out how to combine the two images.  I am so pleased that I was able to add this skill to my repertoire.  I'm sure I'll be using it regularly.  I was able to put the puppy image inside the snowglobe, color it in the software, and print it out so that I could cut it with a fold at the top. { I love shaped cards! }  I used two different Spellbinders shapes for the inside and outside sentiments which I created in Word.  A little inking and some rhinestones for a bit of sparkle, and it's done!

Here are the photos for you:


I hope you like my cute little puppy snowglobe.  Please leave a comment to tell me what you think, and thanks for stopping by!


And always keep your creative genius happy and well-fed!!

CHRISTINE

Monday, January 2, 2012

Ring in the New Year with LOVE

Hello everyone, and HAPPY NEW YEAR!!!  I hope all of you enjoyed a season of abundant joy and many blessings.  I know I did.  And now I'm ready to get back to the fun of creating.

I am so honored to have the first card of 2012 posted in the Card A Day Blog .  Our first theme of the year is Valentine's Day.  I had a few goals in mind when I started designing my card:  I wanted to use my Cricut; I wanted to create a shaped card; and I wanted my card to be sized for a #10 envelope instead of my so very typical standard A2 size (5 1/2 x 4 1/4).  With those goals in mind, and considering the subject, I determined that I would use the heart shape, but in multiples.  What I came up with is three stacked and layered hearts.  I'll show them to you one at a time from the top.


You can see in the photo that I started with a white, and inked, card base.  The layered heart was cut in red card, embossed on my Cuttlebug, and inked with white and red to show the texture.  The sentiment was cut from gold card, stamped and heat embossed with opaque white, inked just a bit and embellished with red jewels.  It was affixed with foam tape.


The middle heart was cut from a lovely silver glitter paper.  I decided to let the paper speak for itself, so it has no further embellishment other than a bit of red inking around the edges.  The glittery heart is affixed with foam tape to raise it just a bit from the top and bottom hearts.


My bottom heart was cut from the same pretty gold card stock as the top sentiment piece.  It's embellished with a stamped and heat embossed floral image enhanced with red jewels, as well as a smaller embossed heart cut from the same red card as the uppermost heart.  This small heart is also affixed with foam tape for extra dimension.  The white embossing of the floral image, as well as the sentiment, looked a little stark, so I softened it a bit with the red ink.

Because the card front has so many elements, I decided to leave the inside very plain except for a pretty sentiment which I stamped in red.


This stacked heart card base was created using a heart image from the Accent Essentials Cricut Cartridge on my Gypsy.  I took the simple heart image, duplicated it, stacked and then welded the three shapes.  I placed the folded card stock on the cutting mat so that the left side would not be cut.  I used a blade depth of 5 and repeated the cut twice to be sure both layers would be cut through.  For the layered hearts, I used the same heart image, but made it just a bit smaller than the size used for the base, and cut it from the three separate papers.  Here is the full front view, as well as an angled view to better show the dimension:


I do hope you've enjoyed your visit with me today.  I wish you many wonderfully creative times during the coming year, and hope that you and your family enjoy good health, happiness and lots of love.

Always keep your creative genius happy and well-fed!

CHRISTINE